To get your Securly Classroom Windows MSI file, log in to Securly Classroom and navigate to the Deployment > Windows menu.
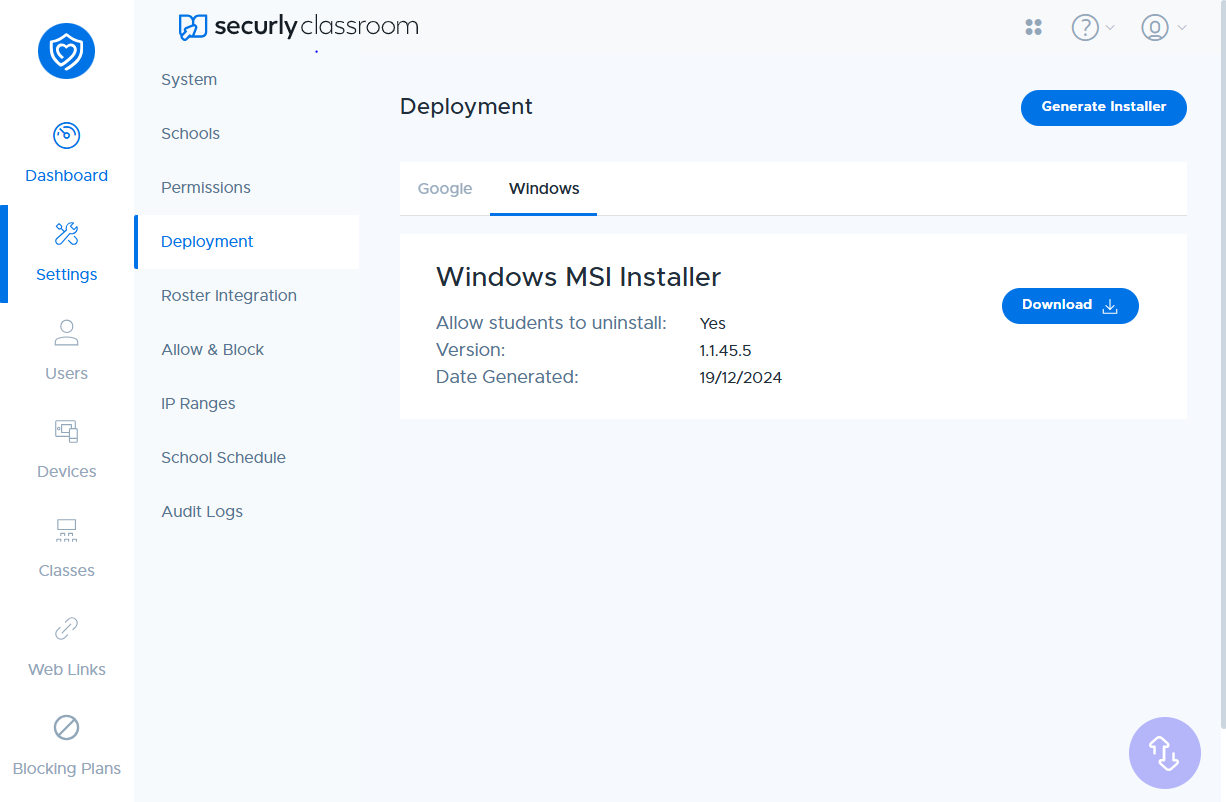
To create a new MSI package, click the Generate Installer button. You will then be prompted to choose whether to allow students the option to uninstall the client from their devices.
Click the Download button.
Installing and Verifying your MSI file
- Install the MSI.
- See that the Securly Classroom icon shows up in the Notification Tray.
-
Go to Rostered Students ( Users -> Rostered Students).
2. Update the username field to match the SAMAccountName in use for the student account
3. Restart the machine - Be sure the username field matches the sAMAccountName you are using for your student login.
- Be sure all username fields are populated in Rostered Students.
- If all data is correct, you can start class in the same way as with the Chrome Extension.
Note: If you are creating a student manually or you need to update a username, you will need to restart the student machine before the change will take effect.
INTUNE FOR EDUCATION
- Login to your third-party software as an Administrator (https://intuneeducation.portal.azure.com/).
- Click Apps.
- Click Add App under Desktop Apps.
- Select and upload the .msi file downloaded earlier.
- Set Securly as Publisher.
- Select Don't check app version when installing.
- Save, and wait for upload to complete.
- Click Groups > Change Group Assignment and select your Groups.
- Click Save; in the Overview section, you will now see the install status is still 0 due to latency.
- Navigate to Devices and click on a device.
- Click Go To Device Details.
- Click the most recent check in, or sync if you have the option.
- Note the Apps status (e.g. "Not yet applied", "Pending", "Failed", etc.)
- Verify that the Securly Classroom icon appears in the system tray of the Windows device after installation.
Note: If the icon does not appear, please reach out so we can help.
Intune (Enterprise)
- Login to your third-party software as an Administrator.
- Navigate to Client Apps > Apps.
- Select Add App.
- Select Line of Business App in the App Type field.
- Select and upload the .msi file downloaded earlier.
- Set Ignore App Version to Yes.
- Click Add; you should be redirected to the App Overview.
- Refresh the page.
- Click Assignments.
- Click Add Group.
- Select Required in the Assignment Type field.
- Click Ok to Add Group.
- Click Save on the Groups window.
Note: In Device Install Status, you may see No Devices. But if you navigate to Devices > [the device itself] > Managed Apps > Securly Classroom, you should see the Waiting for Install status. If you click on the Waiting for Install status, you should see the following, all with green check boxes:
- Application Attempted to Install
- App Installation Completed
- Device Last Check-In Time
14. Verify that the Securly Classroom icon appears in the system tray of the Windows device after installation.
Attack Surface Reduction (ASR) Rules
If you are using ASR rules with Microsoft Defender, you will need to follow additional instructions from our KB article 
Comments
Article is closed for comments.