With Securly Classroom, you have complete control over what sites your students are allowed to visit during your class sessions. That said, there are two ways you can block sites during a class session.
Note: If you come across a site that you think students should not be accessing at all, it's a better idea to add it to your school or district's main web filter solution. Classroom's site blocking toolkit is geared towards blocking sites during class sessions, and should be used in conjunction with a primary web filter.
The first way is to block specific sites using an Access Plan. This is a black list technique, in that it will allow access to all sites except the ones specified in the access plan.
The second way to do this is to only allow access to sites that you specify using Site Lock. This is a white list technique, meaning that it will ONLY allow access to the sites that you specify.
Method 1: Using an Access Plan
To create a new block list, go to the Access Plans menu and click on the Add access plan button.
Enter a Name and Description for the access plan.
In the Sites section on the left, click the Add sites to block or allow button, then select the list type to Block sites.
Choose the Manual option and add the sites you want to block in the field, separated by commas or a new line. Once you've finished, click Add. When your block list is ready to go, click Save in the upper right corner.
When you start a class, use the Default access plan selector to apply the access plan with the blocked sites.
Method 2: Using Site Lock with a Web Link Collection
To add a new Collection, go to the Web links menu and click Add Collection.
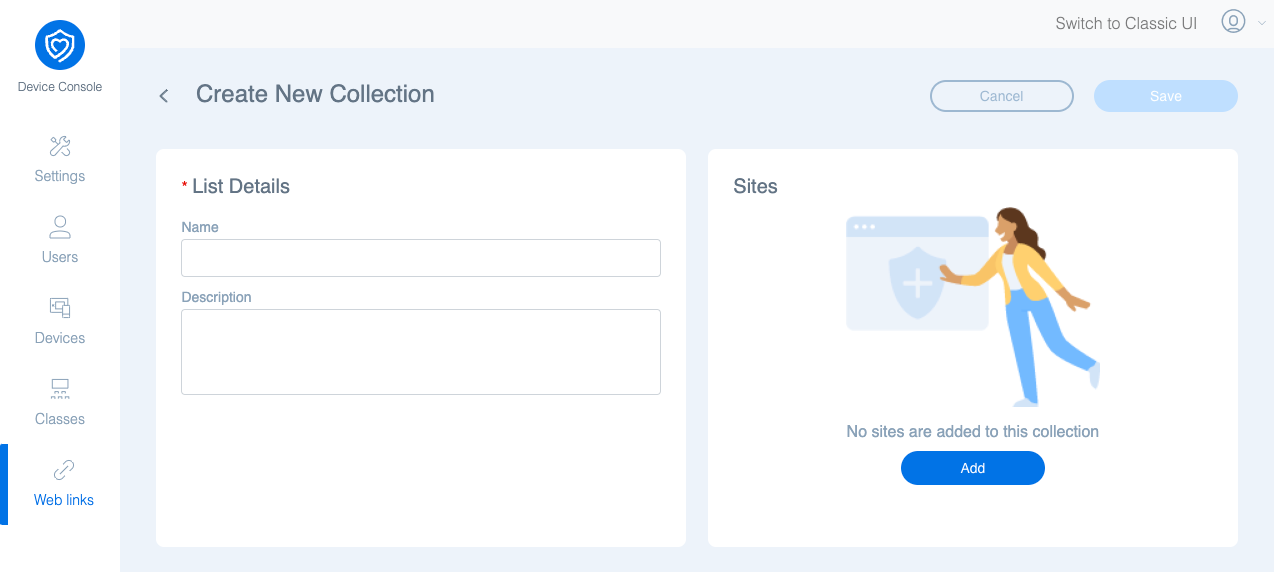
In the List Details section on the left, you can enter a Name and Description for the Collection.
In the Sites section on the right, click Add, then choose from existing web links, or add a new one by selecting New Site. Once you've finished, click Add.
When your collection is ready to go, click Save in the upper right corner.
When you start a class, you can use the Site Lock tool to restrict students to only the collection of web links that you set up earlier.
Click Site Lock in the icon bar at the top of the screen, then select the Restrict to one or more web link sites option at the top of the form. Select your collection, and check the Force to close other tab(s) checkbox, and the Do not open tabs checkbox. Then, click Lock.
With this method, students will ONLY be able to access the sites you describe in your collection, and no others.
Comments
Please sign in to leave a comment.